
How to Set Up a Rotary Evaporator
Follow all manufacturer’s instructions for detailed information about the use of your rotary evaporator, but here are some general instructions on setting up your equipment. Make sure the power source you are using is as specified by the manufacturer.
Transportation considerations: be aware of any manufacturer’s instructions to move your rotary evaporator
- Move the rotovap into an appropriate fume hood, unless using a manufacturer’s safety cover under appropriate conditions.
- Transportation lock: some devices have a locking mechanism to protect the moving parts during transportation. Don’t forget to unlock these locks before use.
- Hand holds: check your manufacturer’s instructions about how or where to hold the equipment to move it safely.
Install the condenser
- Position and attach the condenser:
- Check that the attachment nuts, clips, or clamps are loose enough to install the condenser.
- Position the condenser.
- Check any seals are properly placed.
- Tighten any nuts, or clamps. (Tighten again when under vacuum).
- Some manufacturers suggest you use the condenser itself as leverage to fully tighten it into place.
- Attach coolant tubing:
- Attach inlet tubing.
- Attach outlet tubing.
- Or fill the cold trap with dry ice or other cooling mixture or medium.
- Connect vacuum lines: Follow manufacturer’s instructions to attach vacuum lines.
Install the collection flask
- Make sure you use the appropriate flask clips.
Install the evaporation flask
- Choose as large an evaporation flask as possible, which speeds up performance. Aim for a flask that is about twice the starting sample volume.
- Ensure the heating medium is at the appropriate level for the size of flask being used. Over filling can lead to spillage and under filling can cause uneven heating or even hot spots on the flask.
- Slide flask onto the adaptor and fasten with the clips or clamps following manufacturer’s instructions. Be alert to any engagement cues, such as an audible click.
- Adjust flask immersion depth. Try to immerse as much surface area as possible given the flask size and shape.
- Adjust flask angle based on the size of the flask being used.
- Some manufacturers have an adjustment for the heat bath position as well.
- Install any covers or shields.
Final checks
- If you are programming the evaporator, check the program.
- Check that all hoses are connected properly.
- Check that the coolant connections are secure or that the chilled condenser is working.
- Make sure the rotovap is operated at room temperature, so check the surrounding environment to make sure it doesn’t affect the operating temperature.
- Ensure the lift drive mechanism is free to move.
Settings
- Temperature of the heating medium: select a medium that works for the temperature required for your samples. Make sure the evaporator is capable of safely operating at that temperature.
- Speed of rotation: Speed that is too slow slows down the process, speed that is too high can cause foaming or splashing of sample.
- Interval of the change of direction of rotation: this prevents drying along one side of the flask.
- Immersion depth: Try to immerse as much surface area as possible.
- Flask angle: adjust the angle of the flask to immerse as much surface area as possible.
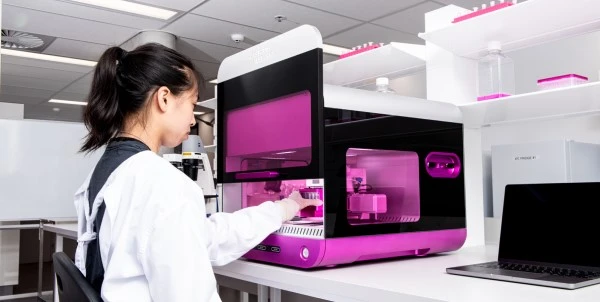
Jan 31, 2025
Product News
RASTRUM™ Allegro: Advancing 3D Cell Culture with Unmatched Speed and Scalability
Discover RASTRUM™ Allegro by Inventia Life Science—a high-speed 3D cell culture platform offering unmatched scalability, reproducibility, and affordability.
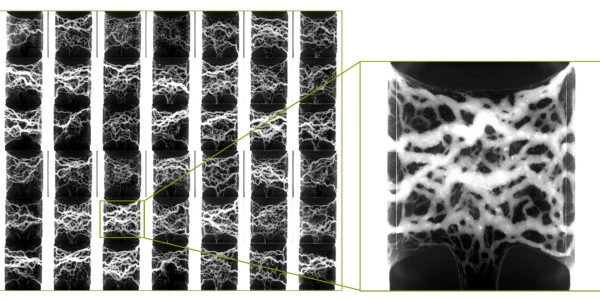
Jan 30, 2025
Product News
MIMETAS Launches OrganoPlate UF
MIMETAS launches OrganoPlate UF, a pumpless, gravity-driven unidirectional flow system enhancing drug discovery and disease modeling.

Jan 29, 2025
Product News
Bio-Rad Launches TrailBlazer™ Tag and StarBright™ Dye Label Kits
Bio-Rad introduces TrailBlazer™ Tag and StarBright™ Dye Label Kits, enabling custom antibody labeling with StarBright Dyes for flow cytometry and fluorescent western blot applications.
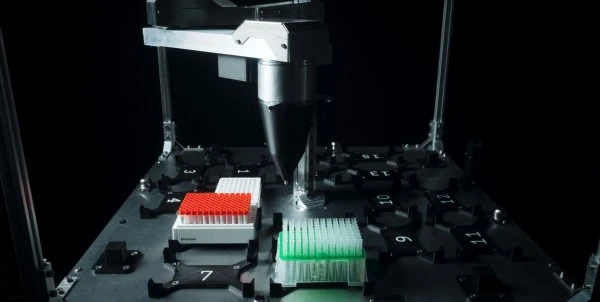
Jan 28, 2025
Product News
Transform Your Research with Trilobio’s Revolutionary Lab Automation Platform
Discover Trilobio's lab automation platform, featuring the Trilobot robot and Trilobio OS, designed to enhance reproducibility, efficiency, and research accuracy.

Jan 27, 2025
Product News
Opentrons Flex High-Throughput NGS Workstation Revolutionizes Lab Automation for Under $100K
Automate your NGS workflows with Opentrons Flex High-Throughput NGS Workstation. Perfect for contract labs needing efficient, cost-effective sequencing solutions.
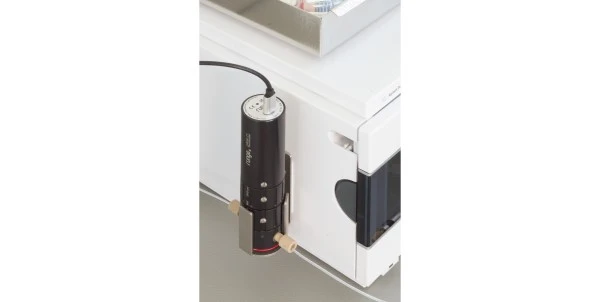
Jan 24, 2025
Product News
Explore the Compact Power of the Mikron 71 Fluorimeter
Discover the Mikron 71 Fluorimeter from Biotech Fluidics—compact, flexible, and precise for fluorescence detection in chromatography systems.
Jan 21, 2025
Product News
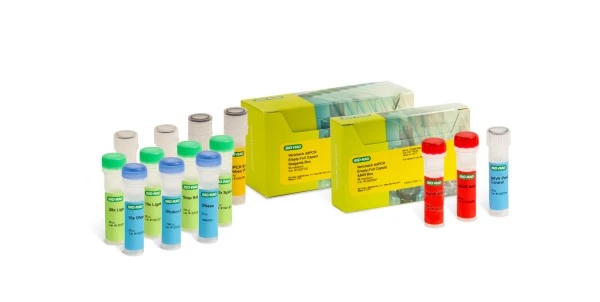
Expand AAV Gene Therapy Research with Bio-Rad’s New Vericheck ddPCR™ Kits
Explore Bio-Rad’s Vericheck ddPCR™ Kits for AAV2 and AAV8, enabling precise vector characterization for 70% of gene therapy applications.
Jan 16, 2025
Product News
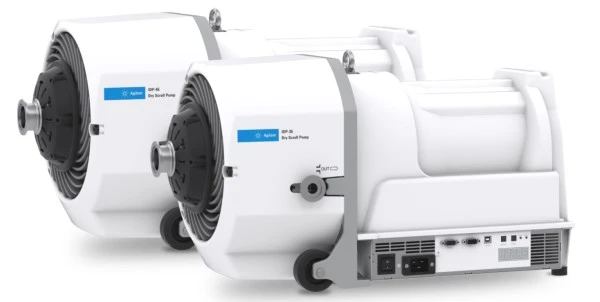
Agilent Introduces the IDP-35 and IDP-45 Dry Scroll Pumps
Discover Agilent’s IDP-35 and IDP-45 dry scroll pumps—quiet, oil-free, and efficient solutions designed for high-capacity vacuum applications.

Jan 15, 2025
Product News
Sapio Sciences Unveils Release 24.12: Advanced Tools for Chemistry, Molecular Biology, and GMP Workflows
Discover Sapio Sciences Release 24.12: innovative tools for chemistry, molecular biology, GMP workflows, and immunogenicity to streamline lab operations.
Jan 14, 2025
Product News
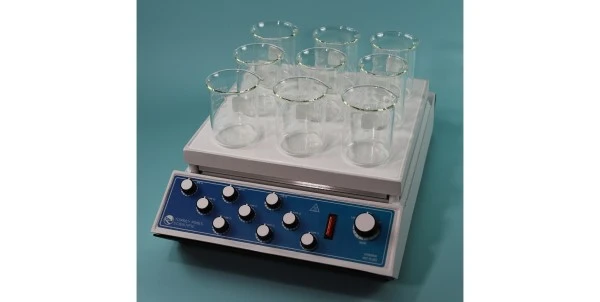
Corrosion-Resistant Multi-Position Analog Hot Plates & Stirrers: A New Solution for Corrosive Applications
Discover Torrey Pines Scientific’s new corrosion-resistant multi-position hot plates and stirrers for acid digestions and corrosive solutions.
